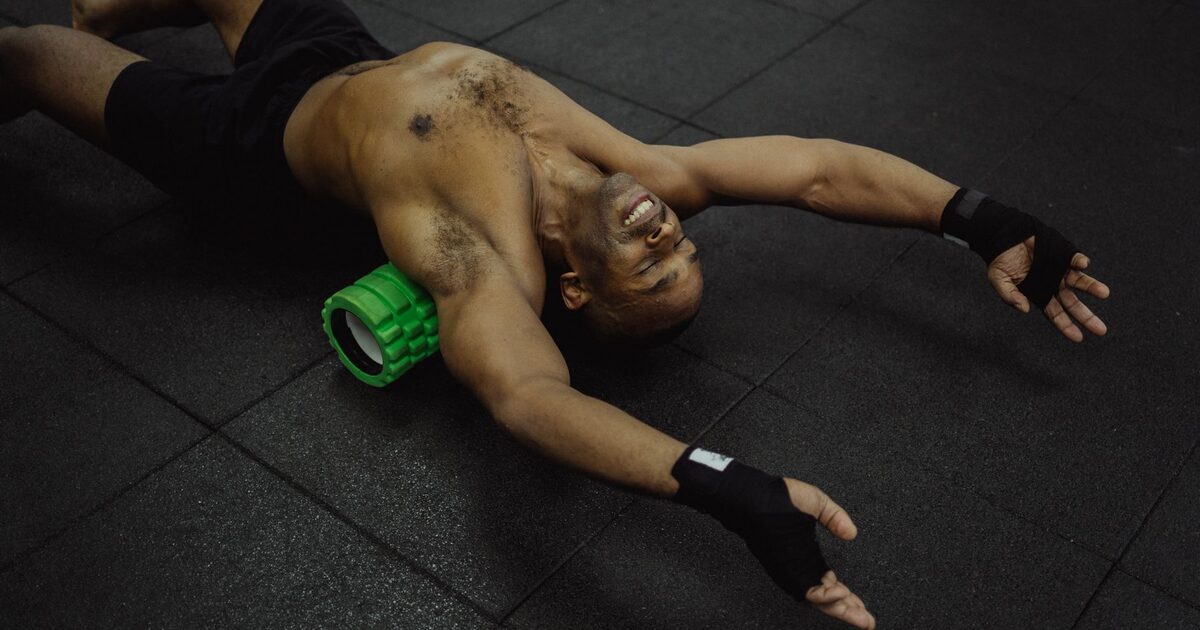
A foam roller is a dense foam cylinder you lie on, using your bodyweight to press into a muscle and roll it back and forth. People treat it like a magic wand: roll the tight bit, and the tightness melts away. The reality is more useful and less mystical. Used well, a roller is a cheap, reliable way to feel looser and move better in the next ten minutes. Used as a cure for everything, it disappoints. Here's what it actually does, what it doesn't, and how to use one.
What foam rolling really does
The popular story is that you're "breaking up" adhesions or smoothing out knots in the fascia, the connective tissue wrapping your muscles. That's almost certainly not what's happening. The force you can generate by leaning on a roller is nowhere near enough to physically deform tough connective tissue, and the effect wears off too fast to be a structural change anyway.
What's actually going on is mostly neurological. Rolling stimulates sensory receptors in the muscle and skin, which briefly turns down the nervous system's protective tension in that area and raises your tolerance to stretch. The result is real but temporary: for roughly the next 10 to 30 minutes you can move a joint through a bigger range with less of that "tight" feeling. It's a short-term change in how the muscle feels and moves, not a permanent rewiring of the tissue.
That framing matters, because it tells you when rolling helps and when you're wasting your time. As a primer right before you train or stretch, it's genuinely useful. As a once-a-week deep-tissue session you expect to fix chronically tight hips, it's the wrong tool.
The benefits worth caring about
Strip away the marketing and a few solid, evidence-backed reasons to keep a roller in your gym bag remain:
- More range of motion, right now. This is the best-supported effect. Thirty to sixty seconds on a muscle reliably improves the nearby joint's range for a short window — handy before squatting, pressing overhead, or stretching.
- No strength penalty. Unlike long static stretches before lifting, which can briefly dampen force and power, rolling improves range without blunting your strength. That makes it close to ideal in a warm-up.
- Less perceived soreness. Rolling a muscle after a hard session modestly lowers how sore it feels over the next day or two. It's comfort and symptom relief, not faster healing — a distinction we get into in our guide to avoiding common gym injuries.
- A few minutes of body awareness. Rolling forces you to slow down and notice which areas are cranky before you load them. That feedback alone often changes how you train that day.
Notice what's not on that list: it doesn't lengthen muscles permanently, burn meaningful fat, "detox" anything, or build mobility on its own. Rolling buys you a window of better movement. What you do in that window — actual mobility drills, good lifting — is what creates lasting change.
How to do it right
Most people roll too fast, too briefly, and too generally. The technique is simple but specific.
- Go slow. Roll at roughly one inch per second — slow enough that it almost feels tedious. Fast scrubbing barely registers with the nervous system. A muscle the length of your quad should take 20 to 30 seconds to travel end to end.
- Spend 30 to 90 seconds per muscle. That's the sweet spot in the research. Past about 2 minutes on one spot you get diminishing returns and just irritate the tissue.
- Pause on the tender spots. When you hit a genuinely tender area, stop rolling and hold steady pressure on it for 20 to 30 seconds. Breathe slowly and let the discomfort settle by maybe half before moving on. This sustained pressure does more than passing over it repeatedly.
- Keep it a 6 or 7 out of 10. You want discomfort you can breathe through, not pain that makes you clench, hold your breath, or yelp. If you're gritting your teeth, you've gone too hard — back off the pressure by shifting weight onto a supporting limb.
- Roll the muscle, never the joint or bone. Stay on the meaty parts. Don't roll directly over your kneecap, spine, the back of your knee, or the bony point of a joint.
You don't need much volume. Two or three muscle groups, 60 seconds each, is a complete session — five minutes, tops. Pairing each roll with the matching mobility drill works far better than rolling alone; our 10-minute daily mobility routine shows how to stack them.
Where to roll, and where to be careful
The big lower-body muscles are where rolling pays off most, because they're easy to load with bodyweight and tend to feel tight before training.
| Area | How to position | Watch out for |
|---|---|---|
| Quads | Face down, roller under the front of your thighs, weight on your forearms | Ease off if it pinches the hip |
| Glutes | Sit on the roller, cross one ankle over the opposite knee, lean into that glute | Stay off the tailbone |
| Calves | Seated, roller under one calf, stack the other leg on top for pressure | Skip right behind the knee |
| Upper back | Roller across the mid-back, hands behind head, gently extend over it | Never the lower back or spine |
| Lats | On your side, arm overhead, roller from the armpit down to the ribs | Light pressure over the ribs |
Two cautions worth repeating. Don't roll your lower back — there's no muscle belly to support the roller there, so you end up grinding the spine and the muscles just lock up to protect it. Roll the glutes and lats to ease the area instead. And skip rolling directly over injuries, recent strains, varicose veins, or areas of sharp or radiating pain. Rolling is for ordinary muscular tightness, not for diagnosing or treating an injury — if something is sharp, numb, or tingling, that's a sign to get it looked at, not to lean harder. You can browse demos for any of these positions in the exercise library.
When to roll for the best return
Timing changes what you get out of it:
- Before training (the highest-value slot). Roll the muscles you're about to work for 30 to 60 seconds each, then go into dynamic warm-up drills and your ramp-up sets. You're opening up range without costing yourself strength. This is where rolling earns its keep.
- After training. A few slow minutes can take the edge off how sore you'll feel tomorrow. Treat it as a comfort measure, not as something that speeds up actual recovery.
- On rest days. Pairing rolling with gentle movement and mobility work is a pleasant way to feel less stiff. On its own, though, light walking and decent sleep do far more for recovery.
A common question is whether rolling should hurt. Mild discomfort on a tight spot is normal and expected; sharp, breath-stealing pain is not, and bruising afterward means you're going too hard. More pressure isn't more effective. The nervous system responds to sustained, tolerable input, not to how much you can grit through.
Picking a roller
Density matters more than features. A smooth, medium-density cylinder, roughly 30 to 36 inches long for back work, suits almost everyone. If you're new or sensitive, start softer — a rock-hard, knobbly roller just makes you tense up, which defeats the purpose. You don't need a vibrating model; the research doesn't show it adding much over the basic version.
The honest summary
Foam rolling is a low-cost, low-risk tool that briefly improves how freely you move and modestly dulls soreness, mostly by working on your nervous system rather than physically reshaping tissue. Use it for 30 to 90 seconds per muscle, go slowly, keep the pressure tolerable, stay off your spine and joints, and lean on it most before training. What it won't do is replace genuine mobility work, fix an injury, or build lasting flexibility by itself — those come from what you do in the window it opens.
Key takeaways
- Foam rolling works mostly on your nervous system, not by 'breaking up' fascia or knots.
- It improves joint range of motion for about 10-30 minutes without reducing your strength.
- Roll slowly: 30-90 seconds per muscle, pausing 20-30 seconds on tender spots.
- Keep pressure at a 6-7 out of 10 - sharp pain and bruising mean you're overdoing it.
- Never roll your lower back, spine, or joints; the best slot is right before you train.
Frequently asked questions
Does foam rolling actually break up knots or fascia?
No. You can't generate enough force with a roller to physically deform tough connective tissue, and any effect fades within about half an hour. The benefit is neurological - it briefly lowers protective muscle tension and improves your range of motion - not a structural change to the tissue.
Should foam rolling hurt?
Mild discomfort on a tight spot is normal, but sharp, breath-stealing pain is not. Aim for roughly a 6 or 7 out of 10 - intensity you can breathe through calmly. Bruising afterward means you pressed too hard; more pressure isn't more effective.
Is it better to foam roll before or after a workout?
Before, for most people. Rolling the muscles you're about to train for 30-60 seconds opens up range of motion without costing you strength, which makes it ideal in a warm-up. Rolling afterward can ease how sore you feel the next day, but treat that as comfort rather than faster recovery.